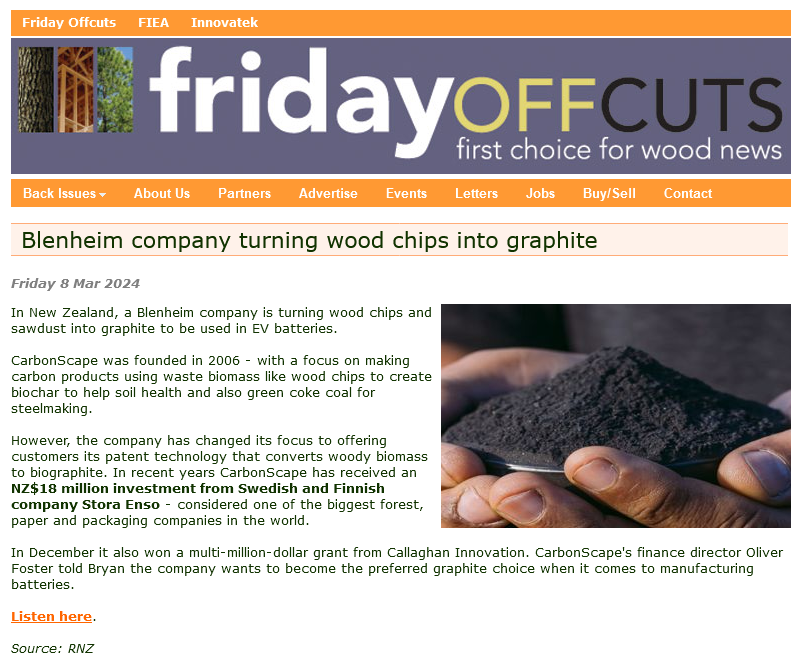
Report below Co/ Stuff & Marlborough Express ( https://www.stuff.co.nz/climate-change/350187762/winery-waste-problem-zero-carbon-opportunity )
“The Green Circle, a Blenheim startup company, and Yealands Wine are piloting a method to convert grape waste into 80% pure carbon.
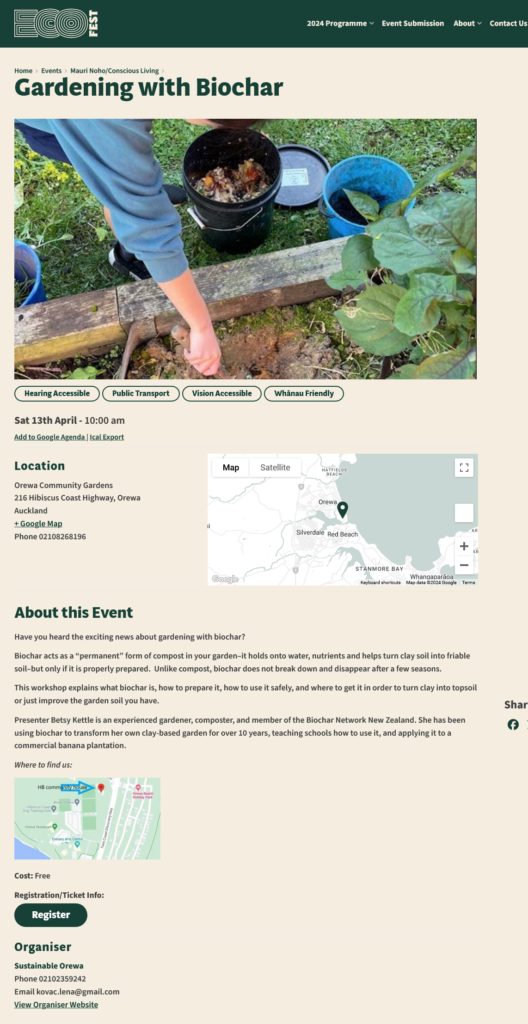
The resulting product, biochar, held up to four times its weight in moisture, provided a home for soil microbes, boosted the value of compost and fertiliser, and could be added to animal feed.
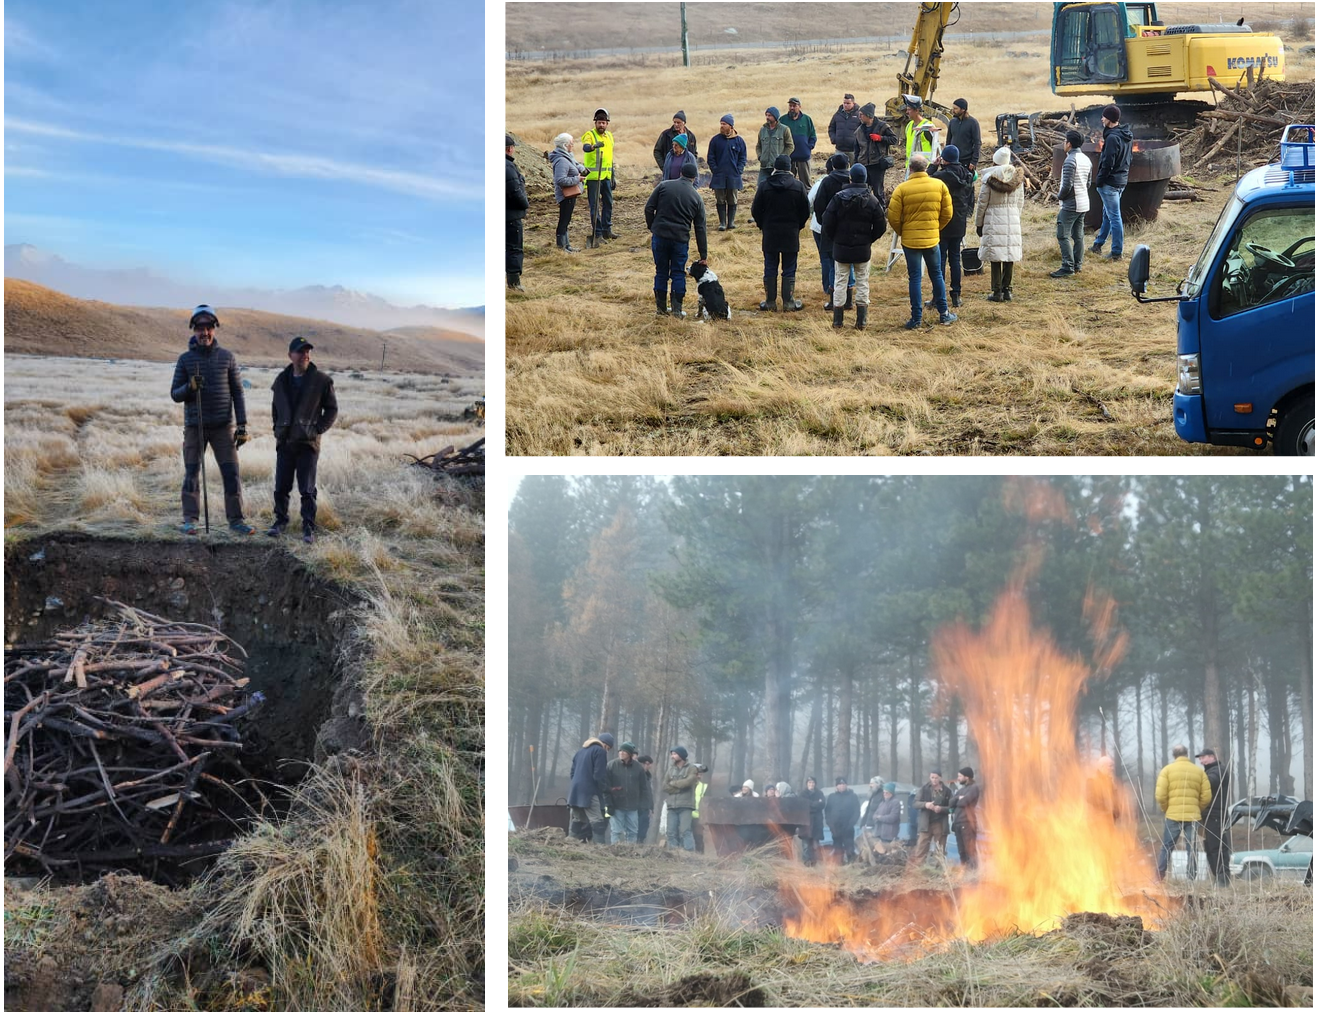
As part of last week’s Climate Action Week Marlborough programme, a demonstration at the Yealands plant near Seddon showed forestry wood-waste and grapevine stumps being fed into one end of a machine and biochar being spat out the other.
The biochar, a charcoal-like substance, was slightly damp from moisture added to reduce its temperature from as high as 1000C.
The Green Circle founder and director Steve Brennan and chief executive David Savidan said the machine being used for the pilot would dry marc at Yealands this vintage.
Marc is the seeds, skins and stalks left behind when wine is made.
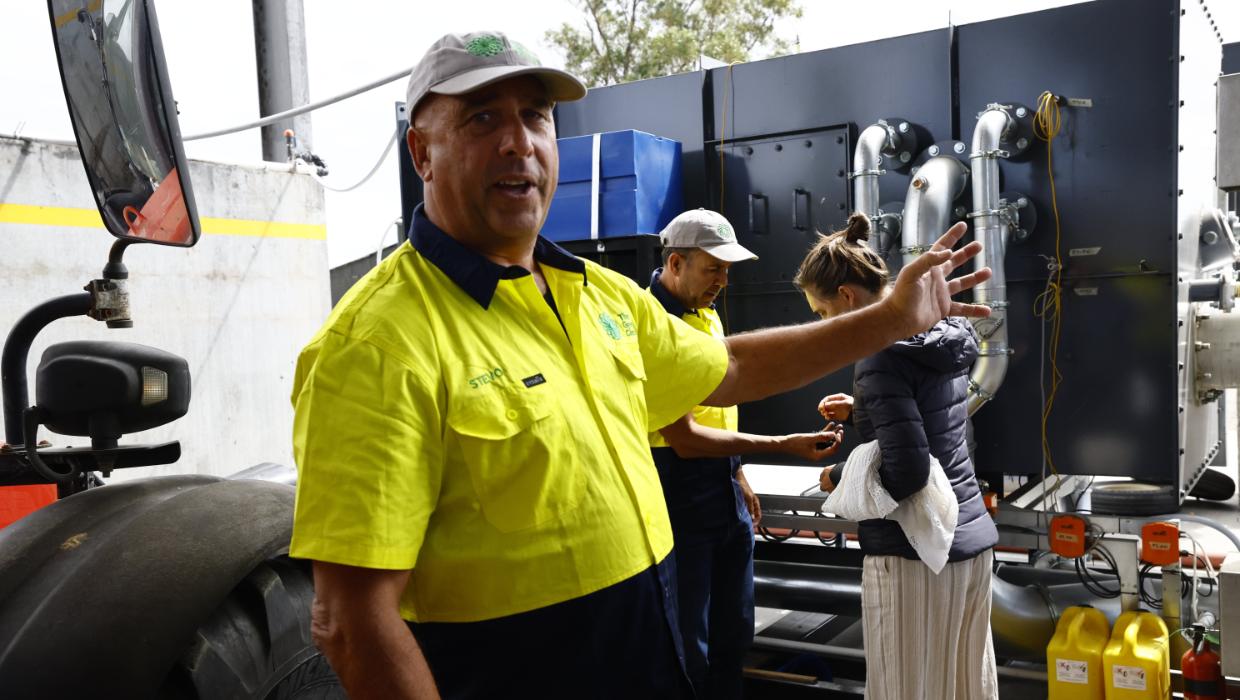
Steve Brennan of The Green Circle shows how marc left over from winemaking will be made into biochar.
Penny Wardle / Marlborough Express
“As much as possible” would be converted to biochar using pyrolysis, which is the burning of organic material at super-hot temperatures with no oxygen.
The biggest challenge would be scaling up to use available waste, improve efficiency and make biochar affordable, Brennan said.
Depending on the size and moisture content of material being fed in, an average of 20 tonnes could be processed per day, Savidan later told the Marlborough Express.
This time next year, the company planned to have several machines with capacity to process 15,000 to 20,000 tonnes. These would be based at a site central to vineyards, ideally in Renwick or Riverlands.
Last year, about 393,865 tonnes of grapes were harvested in Marlborough, according to Marcus Pickens of Wine Marlborough.
About 20%, or almost 80,000 tonnes, of that volume was marc.
Brennan said the 6 million or so vine trunks that were removed from Marlborough vineyards each year and 40,000 to 50,000 tonnes of prunings could also undergo pyrolysis.
Wine companies could dig biochar back into vineyards to sequester carbon for a zero footprint, he suggested.
However, there was not yet New Zealand demand for high-carbon biochar, Savidan said. The Green Circle’s business plan included researching local benefits that would later be shared.
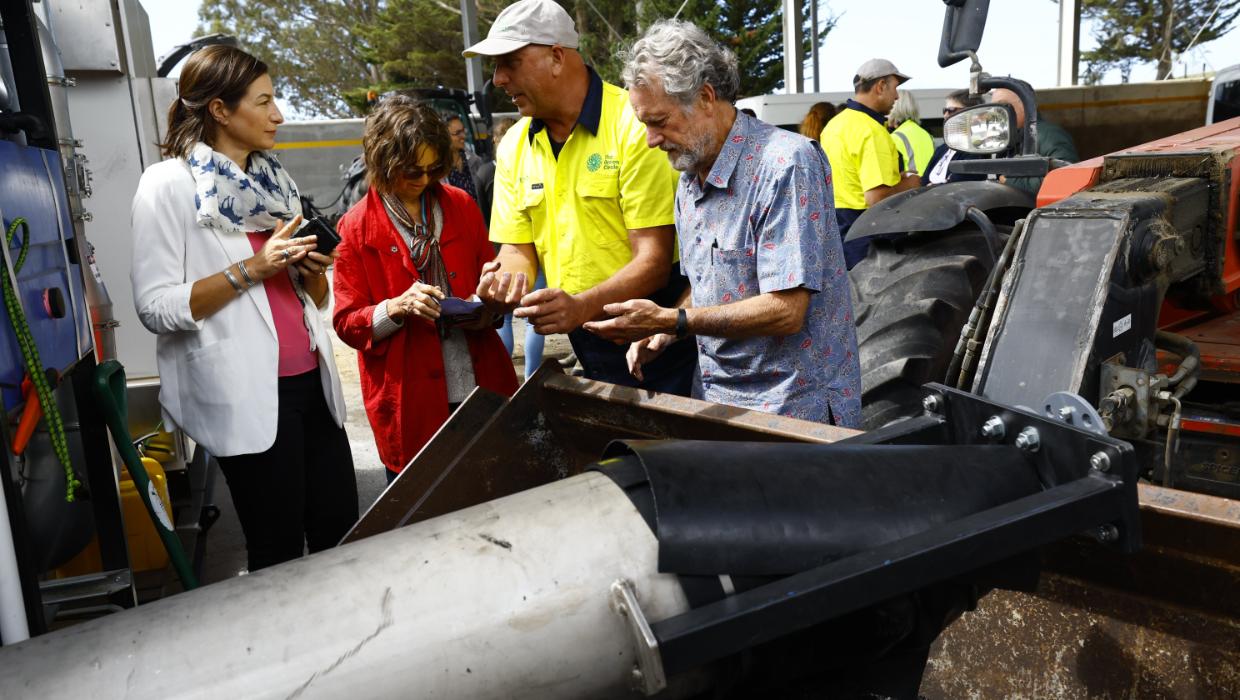
Brennan encourages people to see, touch and interact with the biochar product.
Penny Wardle / Marlborough Express
Yealands sustainability manager Andrée Piddington said the winemaker was keen for solutions because composting marc could cause leachate runoff.
Even if The Green Circle did nothing but dry marc, she would be happy, Piddington said. It could be stored with no risk of runoff and then sold as livestock feed.
Yealands was planning a trial in which biochar would be added to compost and then applied to soil.
Digging biochar into the ground to lock in carbon was appealing but not practical among the posts and wires of established vineyards, Piddington said. This could be possible as new areas were developed or old areas replaced.
Savidan said The Green Circle would charge clients to process their grape marc, at the cost of disposal. They could buy biochar at discounted rates.
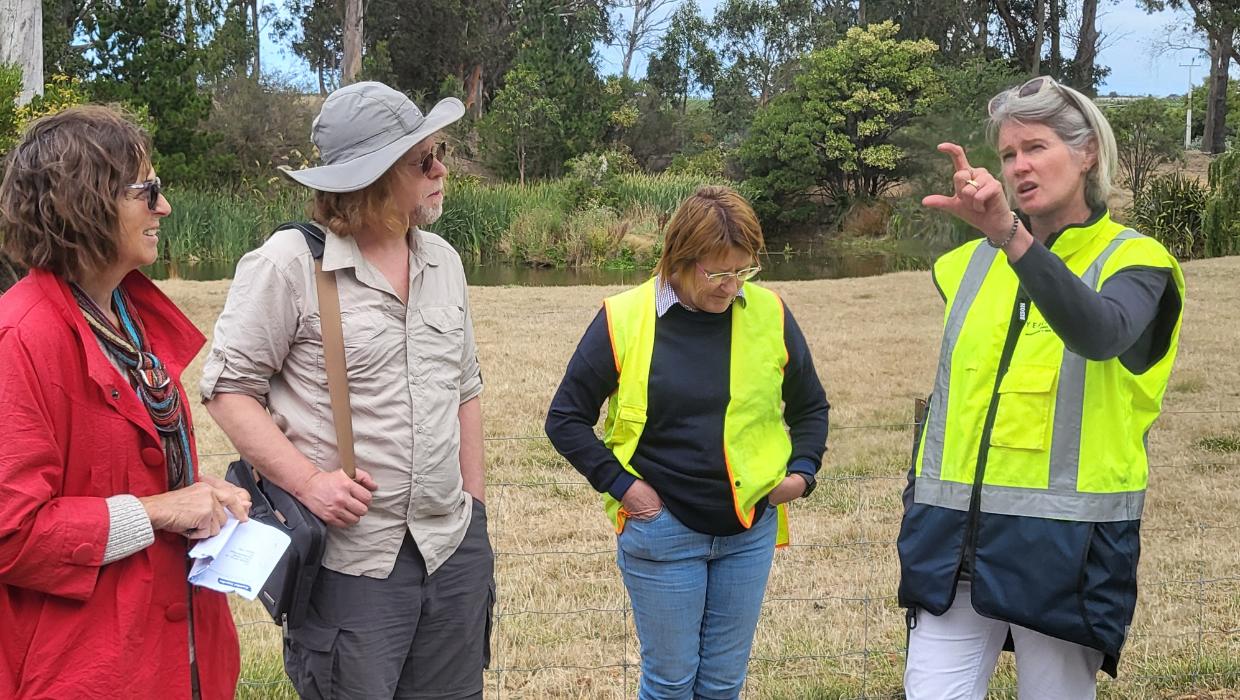
Yealands sustainability manager Andrée Piddington, right, talks about biochar benefits with, from left, Heather Turnbull, John Baldridge and Tracy Taylor.
Penny Wardle / Marlborough Express
The company was the sole New Zealand distributor of its pyrolysis machine, bought from an Australian manufacturer that planned to take the technology global, Savidan said. The Green Circle designed and owned the New Zealand-made drier.
The company was also talking with Marlborough forest and aquaculture companies, Savidan said. OneFortyOne was looking into transforming wood waste, while New Zealand King Salmon was considering turning dead fish into soil stimulants.
In June 2020, the Marlborough District Council, Massey University and the Ministry for the Environment analysed five options for repurposing grape marc.
In their report, biochar was said to deliver “far and away the best environmental outcome. Going down the biochar route means the industry potentially has the opportunity to offset the emissions from all other parts of the production and supply chain.”
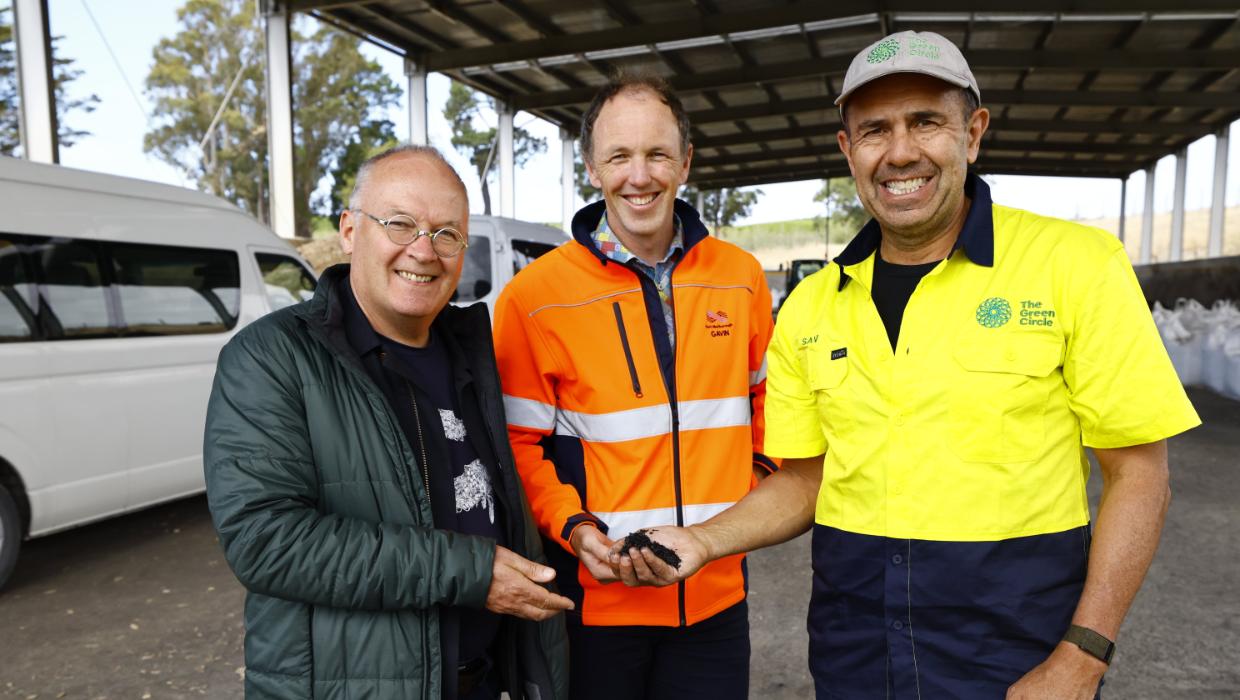
Checking a handful of biochar are, from left, Nick Gerritsen, Gavin Beattie from Port Marlborough, and David Savidan of The Green Circle.
Penny Wardle / Marlborough Express
– Marlborough Express”